The most common technique for creating a colour picker (at least in the ActionScript world) seems to use a colour wheel bitmap and then getting the colour of the pixel that was clicked on. I found that this was not a very accurate way to go about it and decided to build a colour picker that gave colours based on calculations in a HSV cube – Hue on the Z axis, Saturation on X axis, and Value on the Y axis.
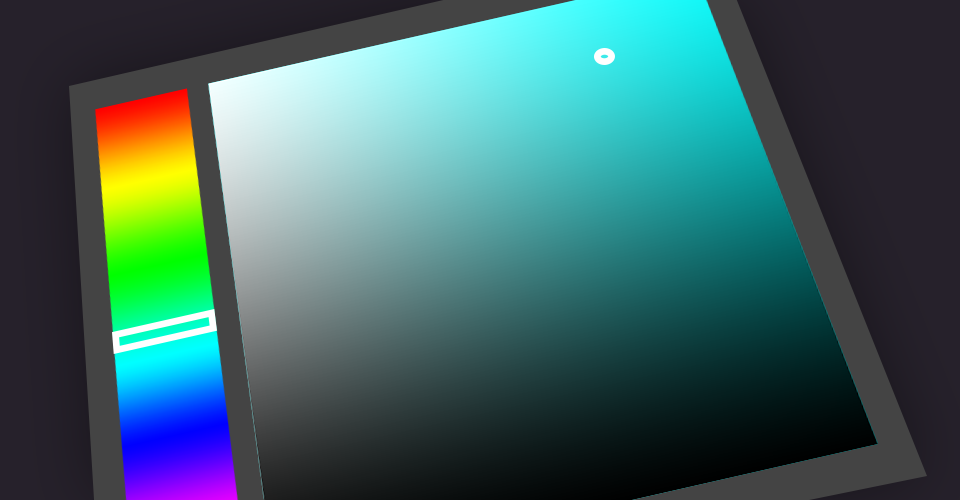
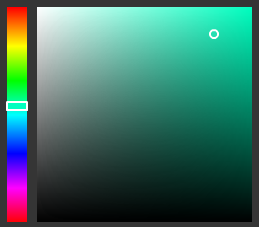
Of course a 3D cube colour picker would be pretty hard to use, so what we end up with is a vertical hue slider, then an area that determines the saturation and value like so:
I am going to explain this concept in a language agnostic manner so that it could be useful to anyone – the only ActionScript code is to demonstrate converting the resulting HSV values to RGB.
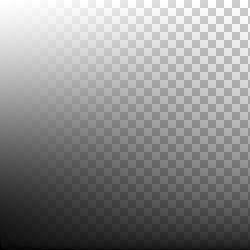
For the graphical representation of the colour picker we will need 2 bitmaps – the hue rainbow seen on the left and a square that fades from white to transparent horizontally and transparent to black vertically.
The rainbow will represent the selected hue and the transparent square will overlay a dynamically drawn rectangle filled with the selected hue.
You need to add a mouse down and mouse move on each of these parts of the picker. When the mouse clicks and drags on the hue rainbow an appropriate hue needs to be calculated based on the mouse location over the image. The colour order in the rainbow image above happens to match the hue value order from 0° to 360° where 0° is the top of the rainbow (0px – pure red) and 360° is the bottom of the image (250px – pure red again).
With the image being 250px height we can easily map this mouse position to a value between 0 and 360 like so:
hue = mouseY / 250 * 360;
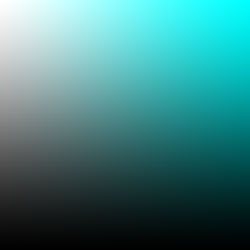
We can then draw a solid rectangle behind the saturation/value square. If the selected hue was 180° (pure cyan) then the resulting composite square would look like this:
Now we need to handle the mouse events on the saturation/value square.
When the mouse is clicked and dragged on the square we can calculate the saturation and value based on the X and Y position of the mouse – saturation being on the X axis and value being on the Y axis. The saturation and value values must be between 0 and 100 so we can easily map the mouse position between 0px and 250px like this:
saturation = mouseX / 250 * 100
value = mouseY / 250 * 100
Now that we have all three components to a HSV colour we can convert it to an RGB colour with the following function (this example is in AS3):
function HSVtoRGB(h:Number, s:Number, v:Number):Array
{
  var r:Number = 0,
    g:Number = 0,
    b:Number = 0,
    rgb:Array = [],

    tempS:Number = s / 100,
    tempV:Number = v / 100,

    hi:int = Math.floor(h / 60) % 6,
    f:Number = h / 60 - Math.floor(h / 60),
    p:Number = (tempV * (1 - tempS)),
    q:Number = (tempV * (1 - f * tempS)),
    t:Number = (tempV * (1 - (1 - f) * tempS));

    switch(hi){
      case 0: r = tempV; g = t; b = p; break;
      case 1: r = q; g = tempV; b = p; break;
      case 2: r = p; g = tempV; b = t; break;
      case 3: r = p; g = q; b = tempV; break;
      case 4: r = t; g = p; b = tempV; break;
      case 5: r = tempV; g = p; b = q; break;
    }

  rgb = [Math.round(r * 255), Math.round(g * 255), Math.round(b * 255)];

  return rgb; // returns an array of RGB values [255,255,255]
}
And there we have a far more accurate colour picker implentation that relies on math rather than pixels.


You must be logged in to post a comment.